4shared Sync v1.0.0 manual

So, you are all eager to start using our new application for content synchronization, and don’t know how to start? Well, we will help you with that, so grab your own free digital copy of 4shared Sync and lets start. Read more for details.
Installation
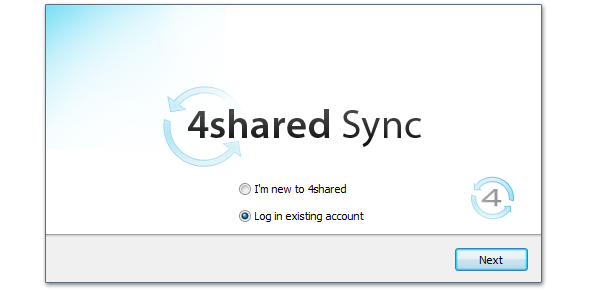
After you have successfully installed 4shared Sync to your PC, you will be prompted to enter your 4shared login data or register a brand new account:
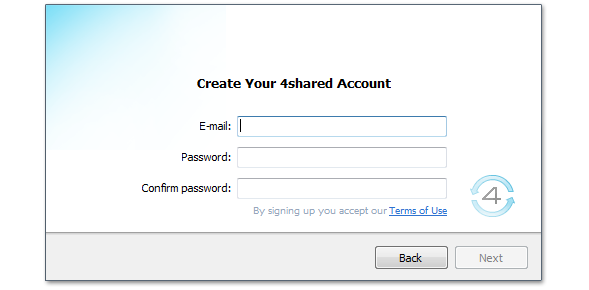
If you’re new to 4shared all you’ll have to do to get yourself a fresh and shiny 4shared account is to enter your email and password (don’t forget to confirm it!):
If you already are a lucky 4shared account owner than just enter your login and password you’ve used to register after clicking on “Log in existing account” as shown on previous screenshot.
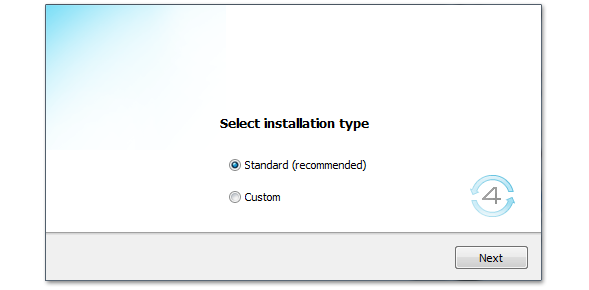
After that you will be able to choose a type of installation you would like to have. This means that you can actually change the default destination of the folder that will be used to synchronize with your online 4shared hosted content:
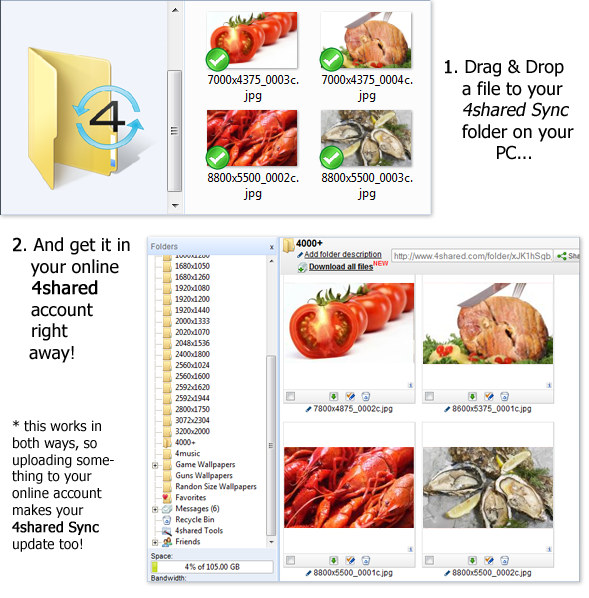
When the installation process completes you’ll get a nice little folder with 4shared Sync icon on it. Congratulations, your files are synchronizing just now! Time for some tuneup.

Using 4shared Sync
When you start using 4shared Sync take notice at system tray icon that appears in the bottom right corner of your screen: 
Right clicking on it will give you a menu where you can access a few useful features:
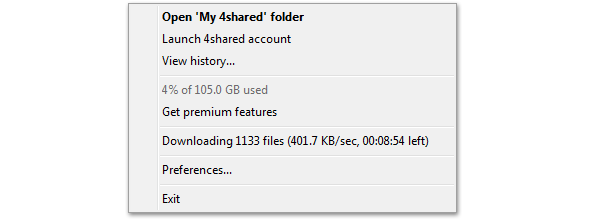
These include opening your 4shared Sync folder, launching your online 4shared account, viewing history (log) of your sync activity, a brief stats of used space on your account, a quick link to getting premium features, the current sync progress and, of course, preferences. Lets concentrate on the last one.
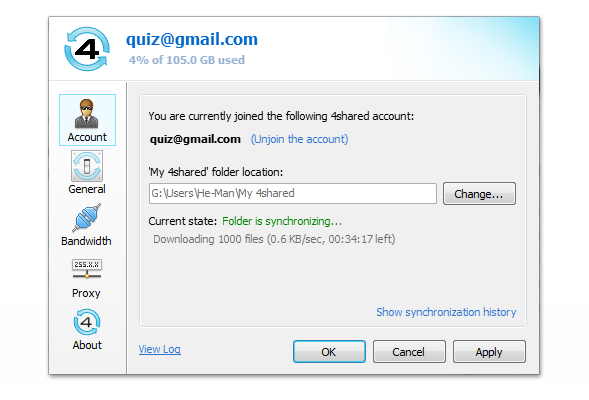
When you click on “Preferences”, you’ll get a new window with 5 tabs in it: “Account”, “General”, “Bandwidth”, “Proxy” and “About”. The first tab, “Account”, can give you a general idea about your sync progress. This tab can be used to login to another 4shared account if you have one. You can change your default sync folder and check out the current sync progress as well.
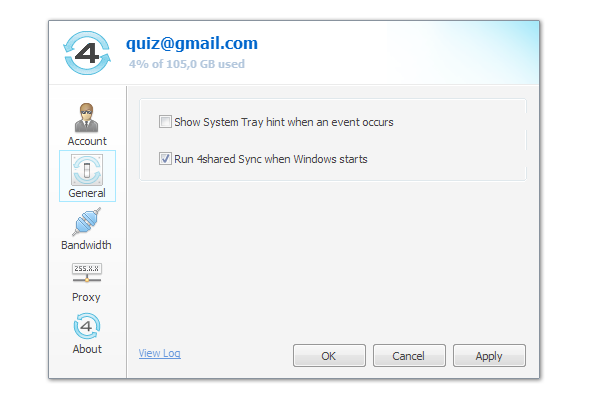
The second tab named “General” . Here you can adjust 4shared Sync startup options and other events too:
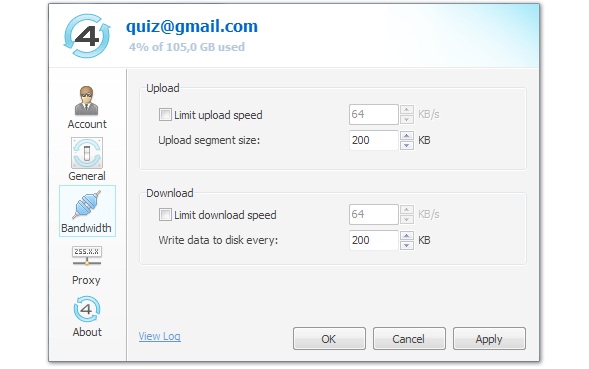
The “Bandwidth” tab gives you an ability to change your upload and download limits to fit your Internet provider. Set your desired upload segment size etc.:
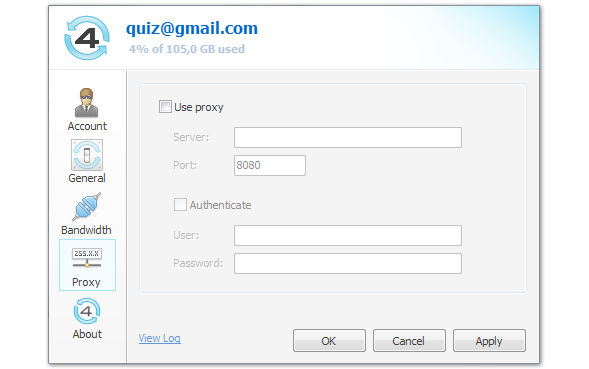
For more advanced users out there 4shared Sync has also an option to use Proxy. Enter your server data, port and authentication info:
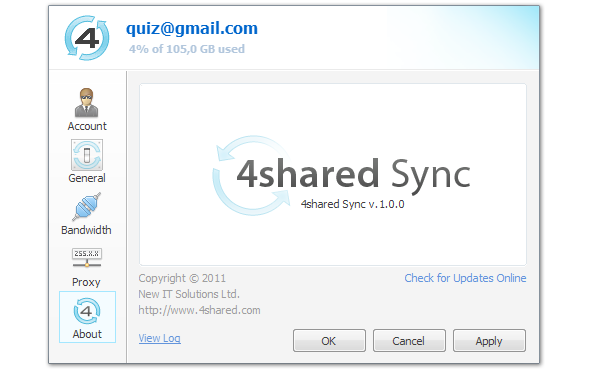
And finally, you can use the last tab, “About” to check for updates!
Useful tips
4shared Sync has a few other tricks in its sleeve! Take notice that while you are browsing your folder you have additional options that can be accessed by clicking the right button of your mouse on the specific file. Just choose the “4shared Sync” and you will see a number of other things you can do:

The first two options give you an ability to get a quick link to your file to share with your friends, while the third one takes you to your online 4shared account right away. You can also order premium features for your 4shared based needs and check the properties of the specific file. You can also manage the whole folders this way!
Still thinking? Don’t! Download 4shared Sync right now!


June 23, 2011 at 10:01 am (#)
Good aplication and very useful! Is there an option for GNU/Linux?
July 4, 2011 at 4:12 am (#)
É uma ótima idéia, de um ótimo serviço e o único que oferece um serviço de Sync já com 10Gb gratuitos, mas precisamos dele para Linux! Please!